💾Installation
Simple step-by-step instructions to start using AppwriteCMS.
📃 Requirements
AppwriteCMS is a ready-to-use CMS solution for any Appwrite project. With that said, AppwriteCMS needs to know where your project is hosted and what your database structure looks like. All of that can be easily configured in config.json, but to edit this file, you will need to set up AppwriteCMS locally.
💿 Download AppwriteCMS
Summary of an upcoming section:
Use AppwriteCMS GitHub as a template to fork it
Clone your fork of AppwriteCMS to your PC
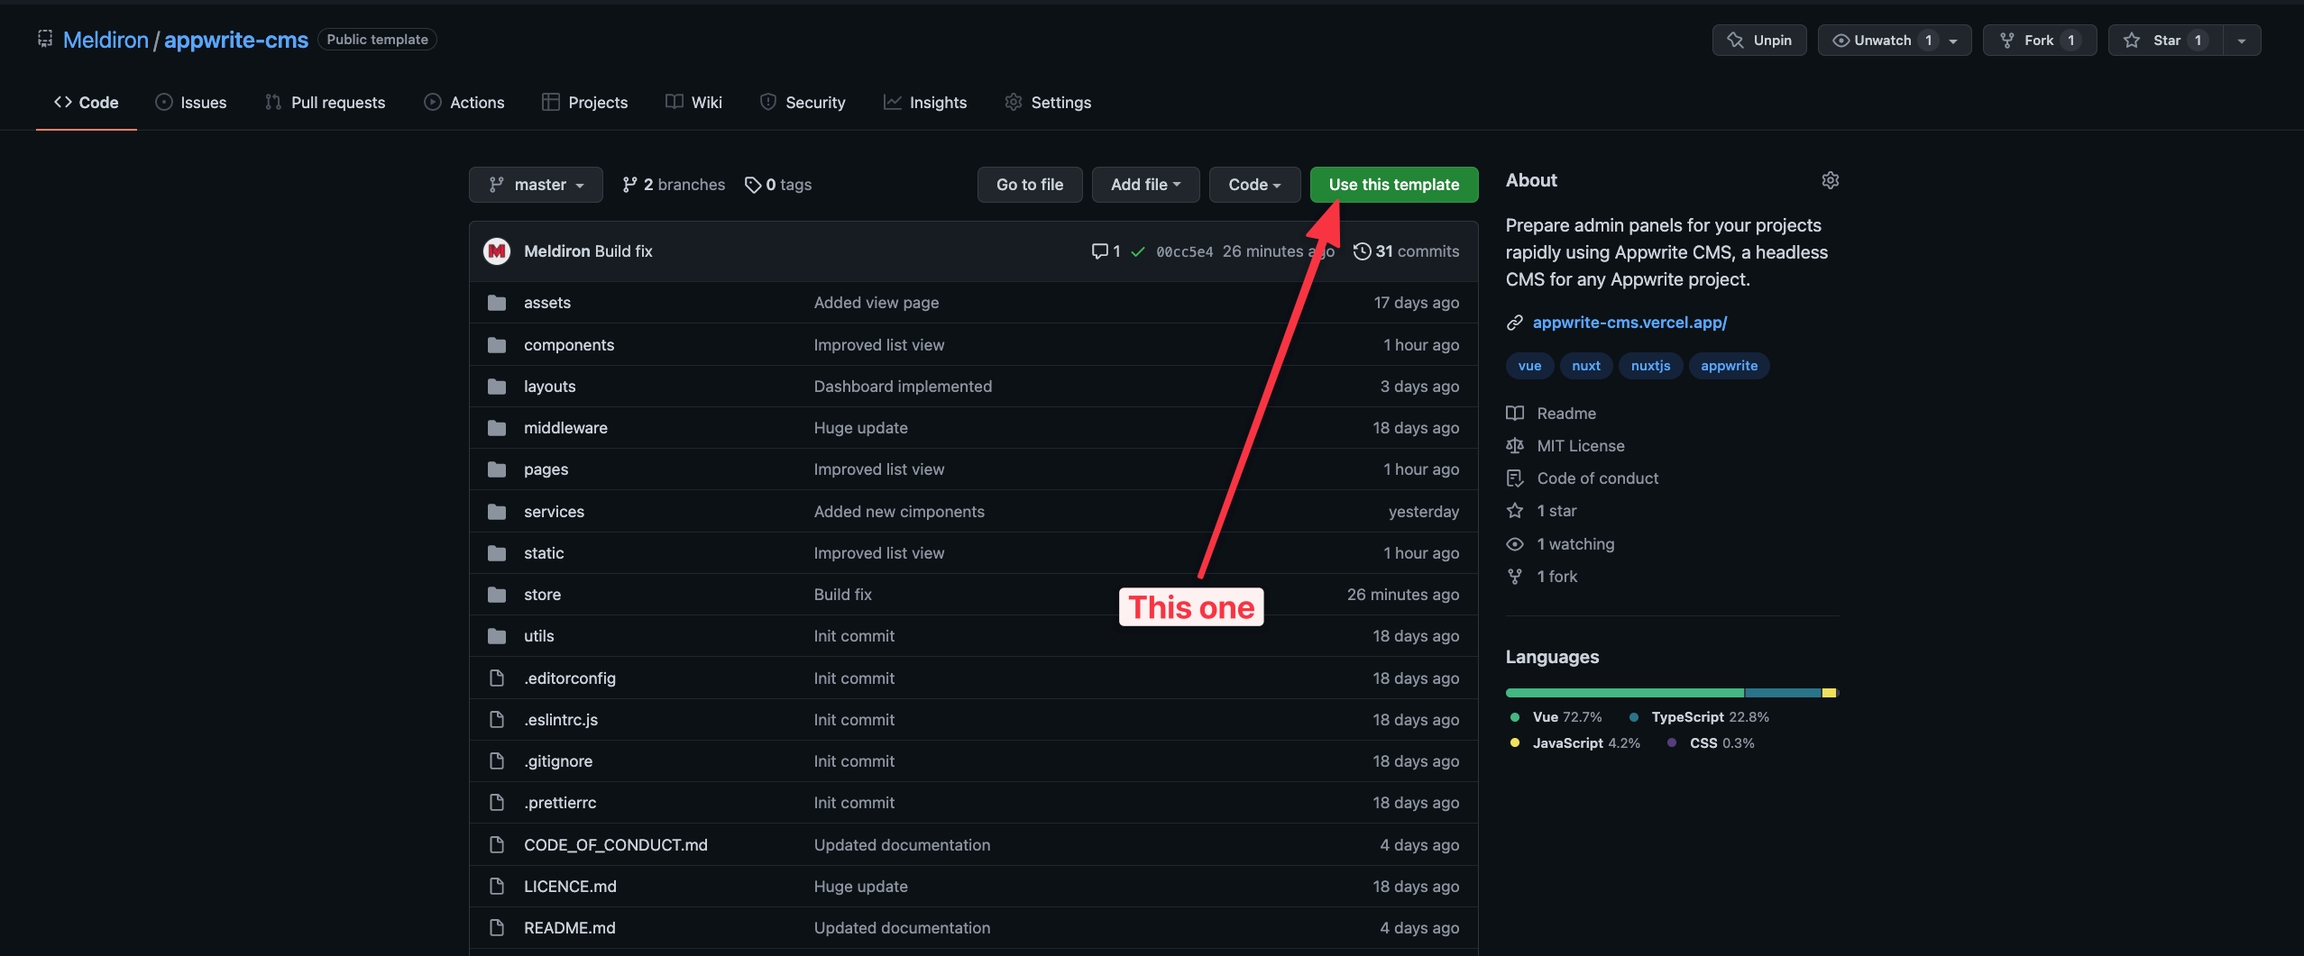
Official AppwriteCMS can be found on GitHub as Meldiron/appwrite-cms, but as we all know, every CMS has a different set of challenges and in the end, you might end up writing your own custom components. To make this process as simple as possible, I highly recommend forking the official repository and using your fork for all of your changes. This will also help you deploy the AppwriteCMS in future to providers such as Vercel or Netlify.
Start by visiting the AppwriteCMS GitHub repository and clicking on Use this template green button.
GitHub might ask you for your organization at this point. Depending on the focus of your CMS, you can choose either your account (personal use) or any of your company GitHub account.
After a few seconds, you should see a similar website but now the green button should say Code, which means, you are now visiting your personal clone of AppwriteCMS. I highly recommend bookmarking the URL you are currently on, as this is where your copy of AppwriteCMS is at.
Last but not least, you need to download files of AppwriteCMS to your PC, so you can start editing them. You could do this in GitHub itself, but you won't be able to run the website locally, so you would be guessing if your changes are valid or not.
To download files, you click the earlier mentioned Code button and either use GitHub Desktop or use URL and CLI command git clone [URL]. If you struggle with this point, you should check out YouTube videos about the topic Git and GitHub basics.
⚡ Run AppwriteCMS locally
Summary of an upcoming section:
Instal dependencies
yarn -DRun development server
yarn devVisit localhost:3000
Running AppwriteCMS locally is as simple as a few commands in your terminal. First of all, after cloning the repository, you will need to install the required libraries in order for the project to work properly. To do that, we will be using Yarn package manager. We install all dependencies using the following command:
After a while, everything will be downloaded and we can spin up the development server using the command below:
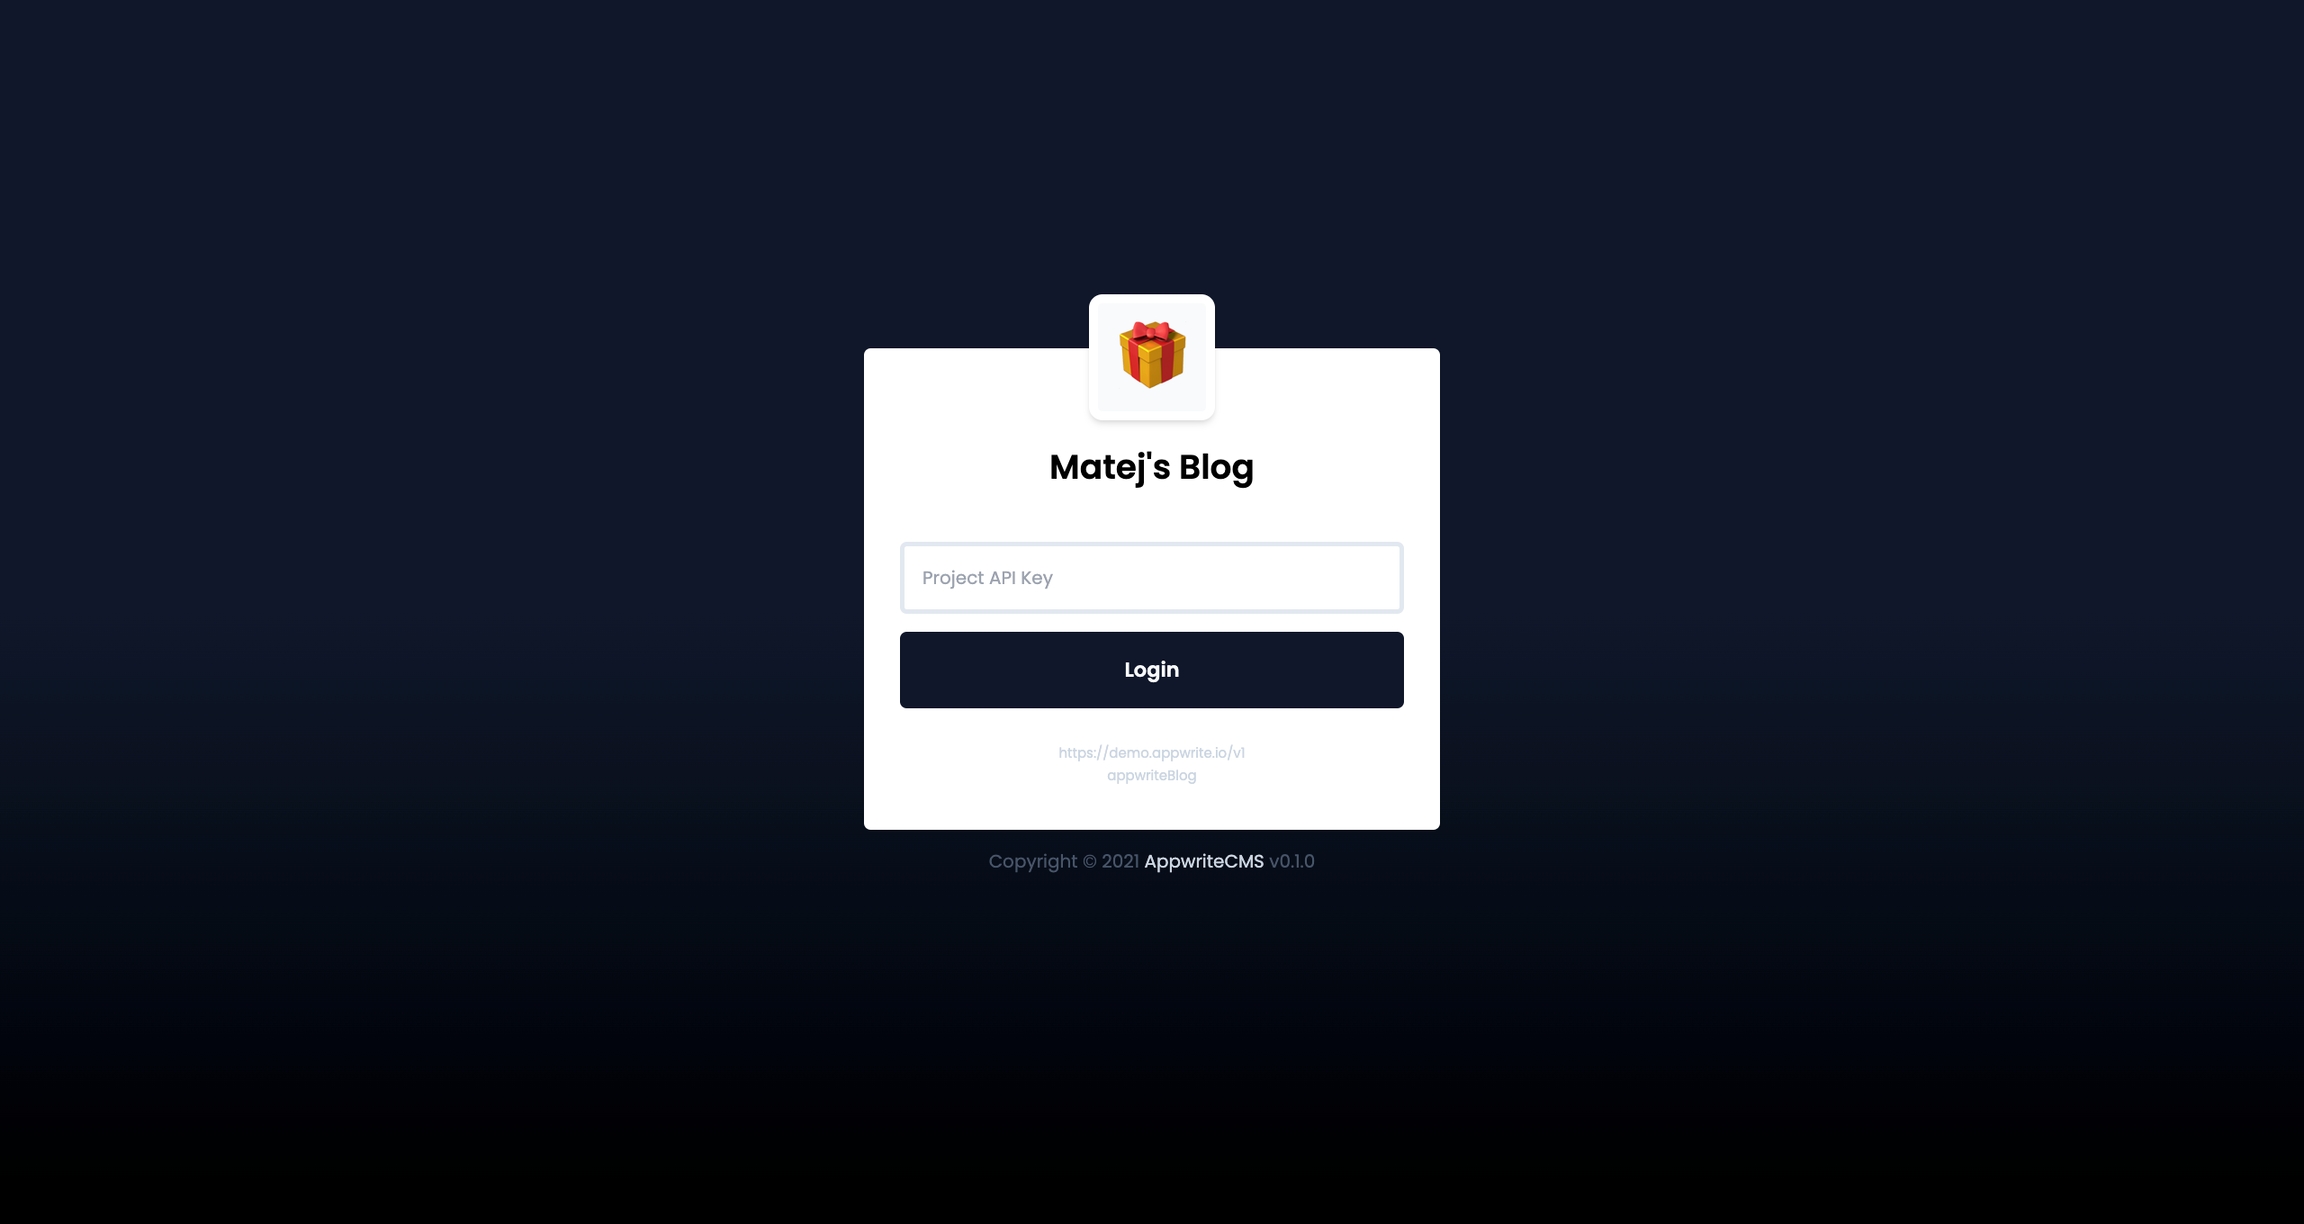
Make sure to keep the development command running in your terminal (don't close it) and visit the website localhost:3000 to see your AppwriteCMS. The CMS is most likely not working at all, but that is all expected since you have not configured it.
Wohoo 🥳 we have successfully created our own copy of AppwriteCMS, downloaded it to our desktop and spinned-up the local server for ease of development in the future.
Your page probably does not look like this, because you have not configured it yet. Please continue to the next section to get your AppwriteCMS working with your Appwrite database.
Last updated